
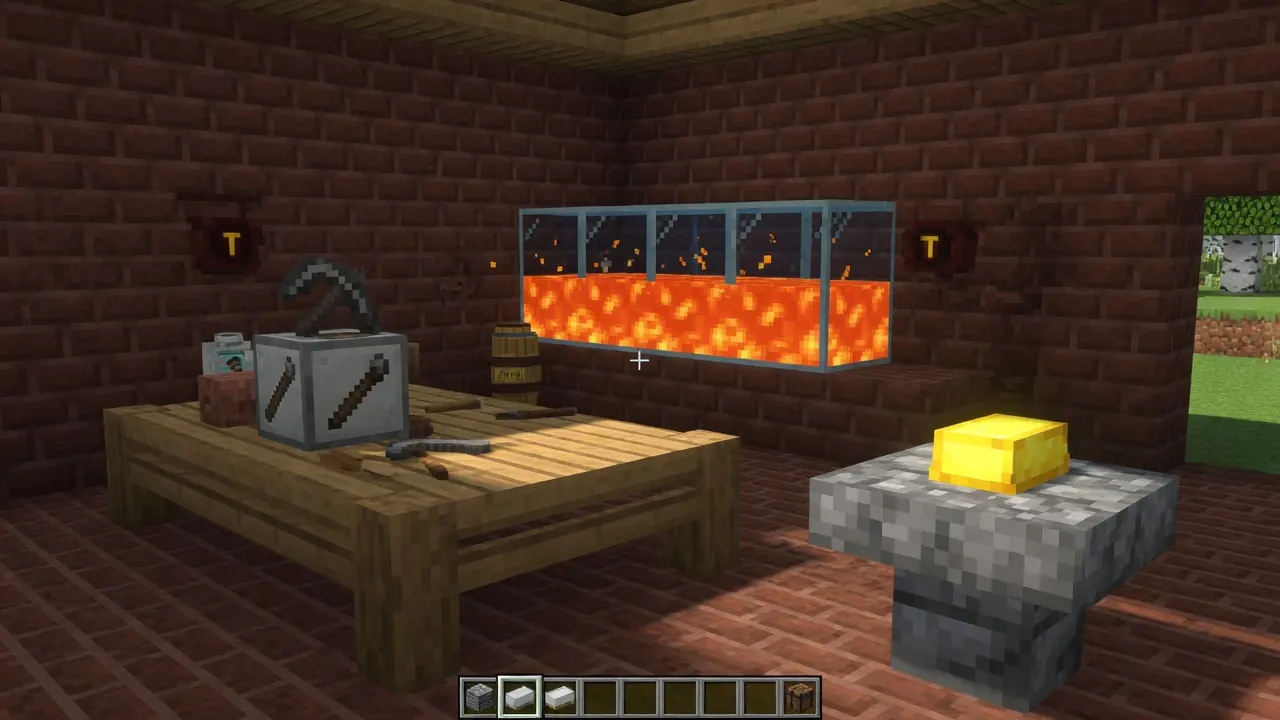
Philosophy of Modular Metallurgy vs Vanilla Enchanting
Why Tinkers' Construct replaces RNG enchanting with precision crafting
Vanilla treats a pickaxe as a finished sentence. You craft it, you enchant it, you babysit anvil costs, and when it dies you start the paragraph over. Tinkers' Construct is the opposite hobby: a tool is a stack of parts, each part is a material, and the material is a permanent trait. At zero durability the tool sits Broken. One head-material ingot on the station brings it back with every modifier still on it. Enchanting tables are the wrong building. The Tinker Station is the anvil, the library, and the repair bench at once.
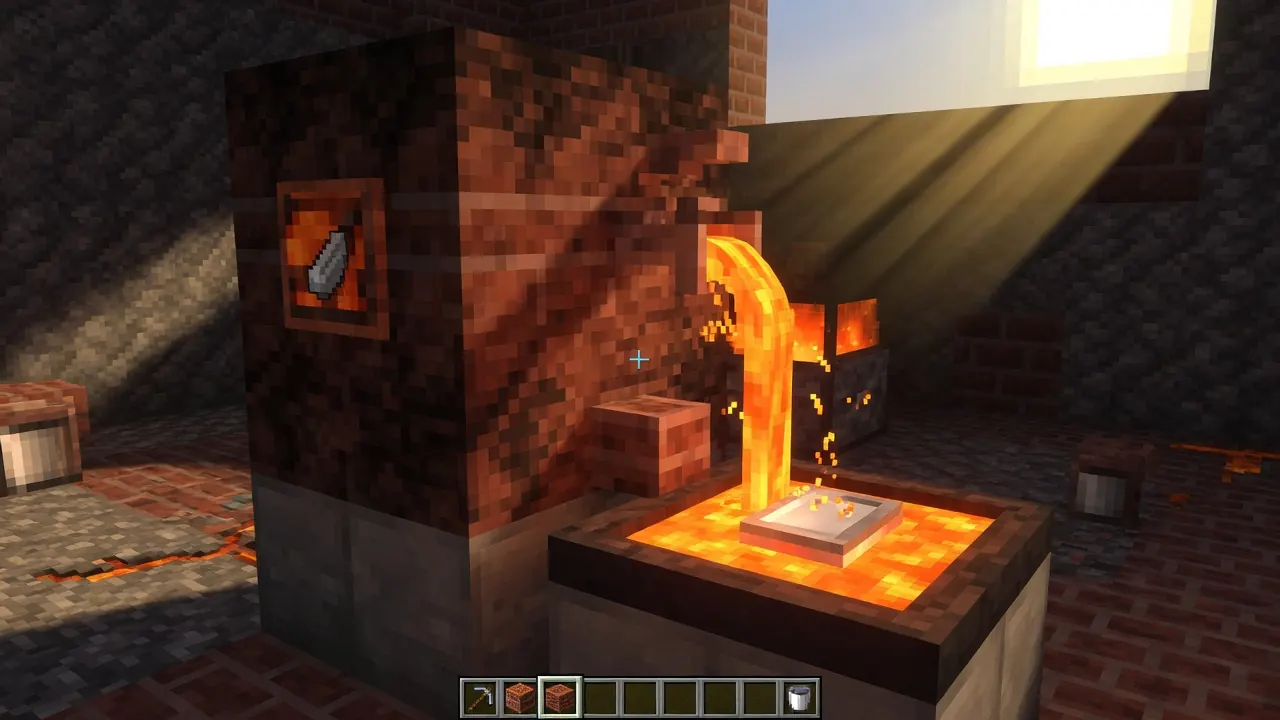
The workshop is the whole loop: wooden stations on one side, a seared tank pouring on the other. Carve, melt, pour, keep the same tool. Every finished piece is three jobs glued together:
- Head Component (Pickaxe Head, Broad Blade, Hammer Head): Dictates the tool's base mining level (Stone, Iron, Diamond, Netherite), base attack damage, and primary harvest speed.
- Handle / Tool Rod: Applies a durability multiplier (e.g. Cobalt gives 1.1x speed, Slimesteel grants passive auto-repair in slime, Queen's Slime grants massive durability pools).
- Binding & Extra Plates: Injects secondary passive traits such as Magnetic (auto-collecting items), Jagged (bonus damage as durability falls), or Stonebound (mining speed scaling with damage).
When a Tinkers tool reaches 0 durability, it does NOT disappear. It becomes "Broken" in your inventory. You simply place it on a Tinker Station with 1 ingot of its head material to repair it to 100% health, keeping all applied Diamond, Quartz, and Redstone upgrades completely intact.

Crafting Patterns (Wood Stencils)
The Essential Stencil Blueprint of Every Tinkers Tool
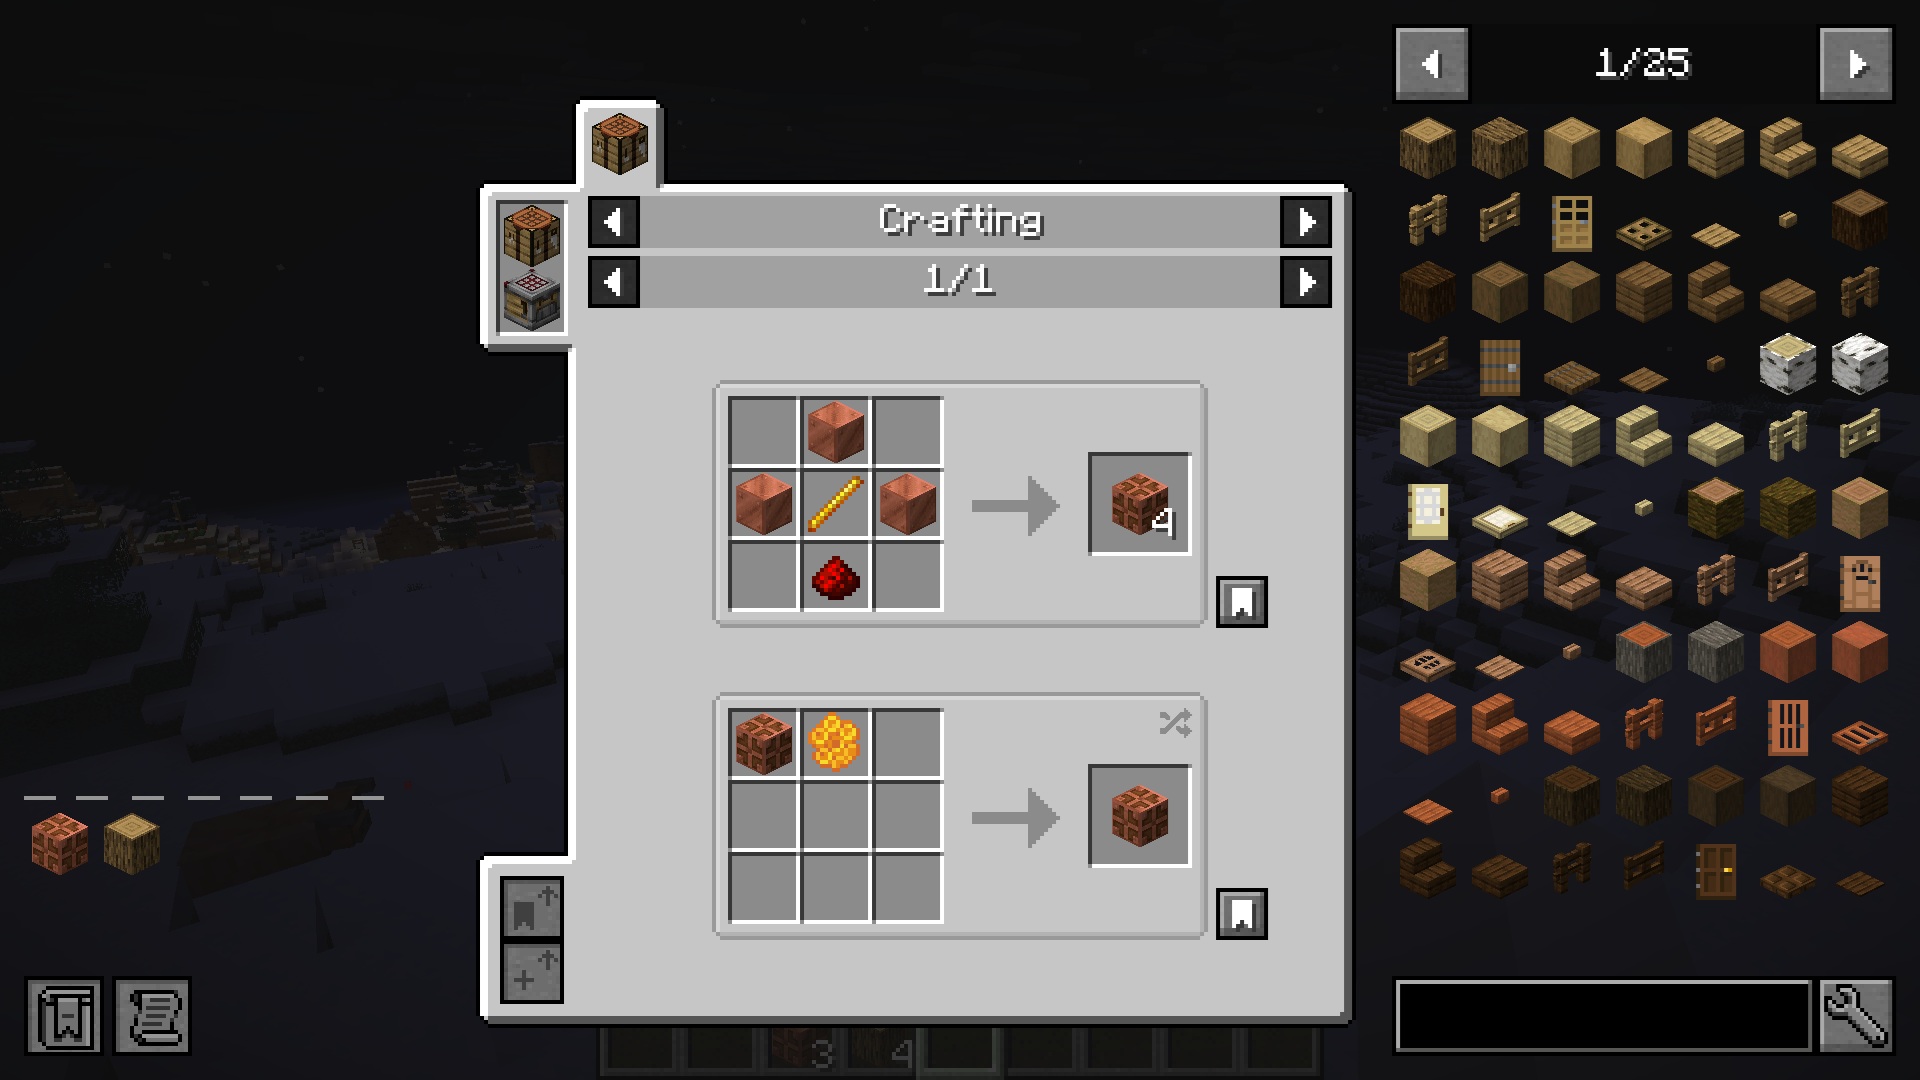
Every tool created in Tinkers' Construct begins with a Pattern. These wooden stencils act as blank blueprints. When combined with raw materials (Cobblestone, Wood, Flint, Bone) inside the Part Builder, they carve out exact tool heads, handles, and bindings.
The crafting recipe is highly efficient: placing 2 Stick and 2 Oak Planks in a checkerboard pattern yields 6 Patterns. Because patterns are reusable and never consumed during part carving, crafting a small batch of 12 stencils will permanently supply your entire early-game workshop:


 6
6Read the 3×3 the way the game does: top-left plank, top-middle stick, middle-left stick, center plank. Official 1.20.1 JSON is ps / sp and the output is six patterns, not four. Craft two batches (12) on the first afternoon and stop. Patterns are not consumed when you carve a part, so a chest of extras is just clutter. Keep them in a barrel next to the Part Builder.
Crafting Your First Two Workstations
Assembling the Part Builder & Assembly Tinker Station
Next, you must assemble your workshop. The Part Builder allows you to turn raw wooden and stone materials into tool parts, while the Tinker Station acts as the assembly bench where parts are combined into finished tools and repaired.
Both tables are wood and patterns. Part Builder is 2 patterns over 2 planks. Tinker Station is 3 patterns over 4 planks in the official ppp / w w / w w shape. Park them next to a crafting table so the top tabs swap stations. First tool: a Hand Axe from wood or flint. It chops and it hits. Leave the Pickadze alone. It will not break ore. A stone pick head plus a wood handle is enough to start collecting cobble for grout. You do not need a smeltery to leave the first night.

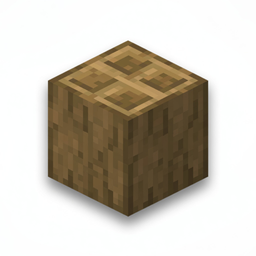
The panel has two tabs. Part Builder first: two patterns sitting on two planks. Tinker Station second: three patterns across the top, planks in the w w / w w legs. Put the two blocks touching each other and touching a crafting table. Tinkers tabs the GUIs together so you stop walking in a triangle every time you need a stick.
Make the first tool. And skip the Pickadze
Wood, flint, bone. Ore comes after grout, not before.
Open the Part Builder. Pattern in the stencil slot, cobble or flint or oak in the material slot. Carve a hand-axe head (2 material), a tool handle (1), and a binding if the tool asks for one. Snap them on the Tinker Station. That axe chops wood and hits a zombie. It is the correct first craft because it does two jobs while you are still punching a tree for the second stack of planks.
The Pickadze looks clever and is a trap. It mines dirt, gravel, and some stone-likes, and it is not sharp enough for ore. Players who open on a Pickadze spend the first night wondering why iron will not drop. Make a stone pick head instead, wood handle, and go collect clay, sand, and gravel. That is the grout run. You do not need copper, gold, or a smeltery to leave the first night alive.
Bone is the sleeper early head if you have a skeleton spawner nearby. Flint is the better axe/sword head because Jagged pays you as the tool wears down. Wood is fine on handles and nothing else. Cultivated repairs slowly and the durability pool is a joke. Do not pour metal until the Melter exists. A copper pick you cannot cast yet is just a shopping list.
How parts, traits, and repair actually work
Head does the job. Handle multiplies. Binding is the extra opinion.
This is the chapter that stops you from pouring Manyullyn onto a pick head. A Tinkers tool is not an average of its parts. The head sets harvest level, most of the mining speed, and most of the attack. If the head cannot mine diamond, no handle in the pack will save it. The handle is a durability multiplier and an attack-speed opinion. The binding or plate is a second trait and, if you paid for Rose Gold, a second upgrade slot. Cobalt belongs on a hammer. Momentum pays when the tunnel does not stop. Manyullyn belongs on a blade. Debris in a pick head is the expensive mistake.
Traits stick for the life of the tool. Magnetic on iron pulls drops. Momentum on cobalt wants you to never stop mining. Insatiable on Manyullyn wants you to keep hitting the same boss. Overgrowth on Slimesteel wants a slime block in your pocket. Mixing them is the whole game: a Hepatizon hammer head (quarry) with a Slimesteel handle (repair) and a Rose Gold plate (slot) is a sentence. A Manyullyn pick head is a waste of debris.
Repair is why the tool never dies. At 0 durability it becomes Broken and sits in the hotbar like a brick. One head-material ingot on the Tinker Station fills it back up and keeps every modifier you already paid for. That is the opposite of vanilla, where a dead Netherite pick is a story you tell later. Overslime is the bonus durability bar some slime parts grow. Spend it first, then spend the real bar. You do not need Mending. You need a pocket of repair kits and the habit of walking back to the station before a raid, not after.
Modifiers come later and they are not enchantments. They eat slots. Quartz is Sharpness. Redstone is Efficiency. Diamond is a durability brick. Reinforced is the five-step walk to Unbreakable, and Unbreakable wants Netherite at the end. If you are still replacing the head next week, do not start that walk. Silk and Fortune still refuse to share a tool. Two picks, always.
Inside the Part Builder GUI & Material Value Math
Selecting Stencils, Material Cost Ratios & Trait Preview
When you right-click the Part Builder, you are greeted with a dedicated carving interface. Place Pattern stencils in the upper slot and your raw material (e.g. Cobblestone, Wood, Flint, Bone) in the material input slot.
Each tool part consumes a specific amount of raw material (Material Value):
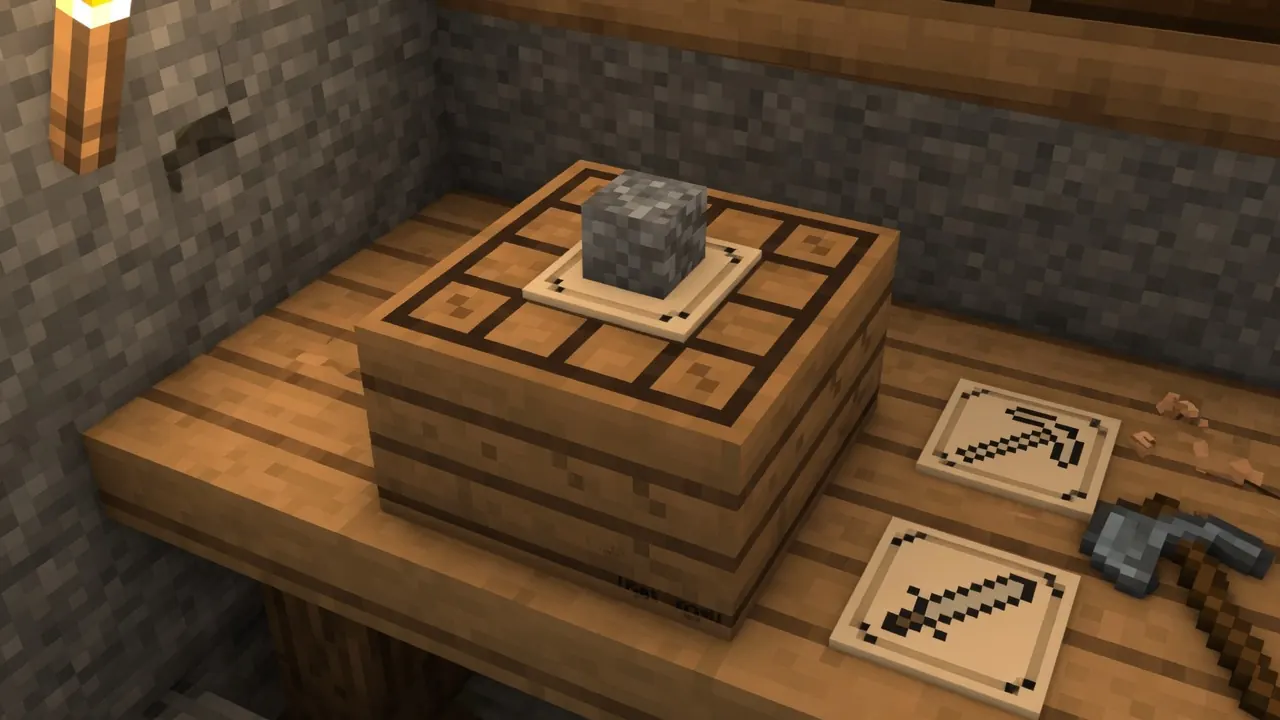
Upgraded Crafting Station & Modifier Worktable
Retained 3x3 Grid Inventories & Modifier Extraction
Unlike a vanilla Crafting Table where items drop onto the ground when you close the menu, the Crafting Station safely retains all items inside its 3x3 grid!
Furthermore, if placed directly adjacent to a Chest, it renders the chest inventory as a side panel in its GUI. Meanwhile, the Modifier Worktable is used to apply specialized modifiers and extract traits:


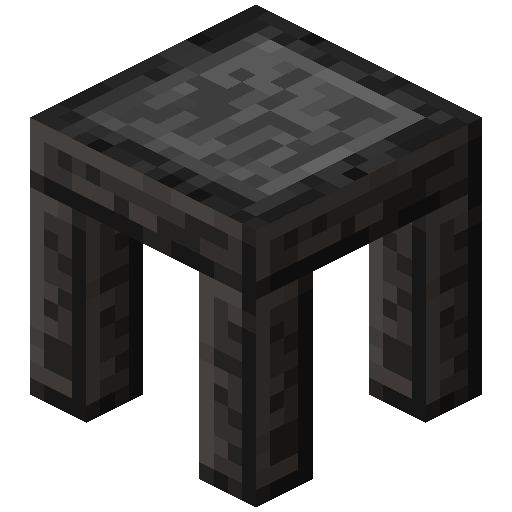
Grout, Seared Bricks & Early Melter Setup
The Foundation Mortar & Compact Single-Block Smelting Setup
Everything Seared begins with Grout, a shapeless mix of Clay, Sand, and Gravel. Smelt Grout in any regular furnace and it fires into Seared Brick, the fundamental building material for all melting devices:


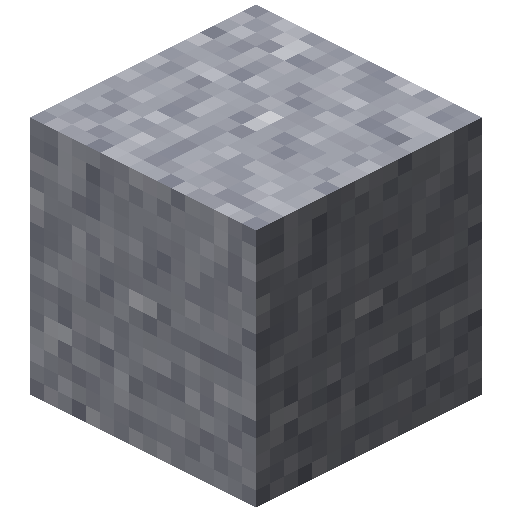 2
2Three tabs, in order. Grout is shapeless: clay ball, sand, gravel, output 2. Smelt every grout into a seared brick. That is a vanilla furnace, not a Tinkers machine. The third tab is the piece clone guides skip: the Seared Fuel Gauge, bricks in the corners and glass in a cross. Official Melter JSON wants that gauge (or an ingot gauge) in the top-middle slot. Glass by itself does not craft a Melter in 1.20.1.
The Seared Melter: Your First Smeltery
The Melter is the correct first furnace. Sit it on a Seared Heater, hang a faucet, park a casting table underneath. That two-block stack is enough to pour copper for the later controller and to make gold or sand casts. Official 1.20.1 Melter recipe is seared bricks around a Seared Fuel Gauge (or Ingot Gauge), not a raw glass block. Craft the gauge first: bricks and glass in a cross.
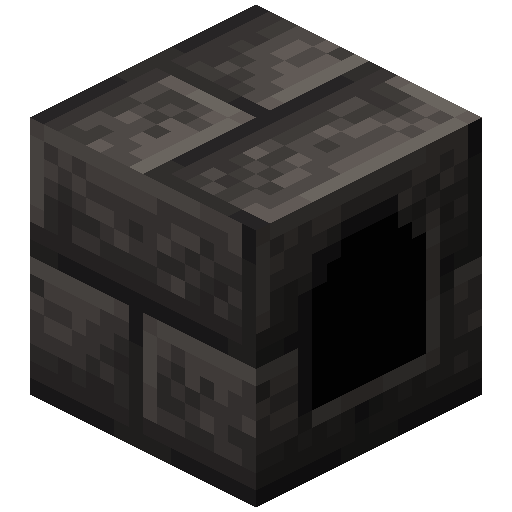
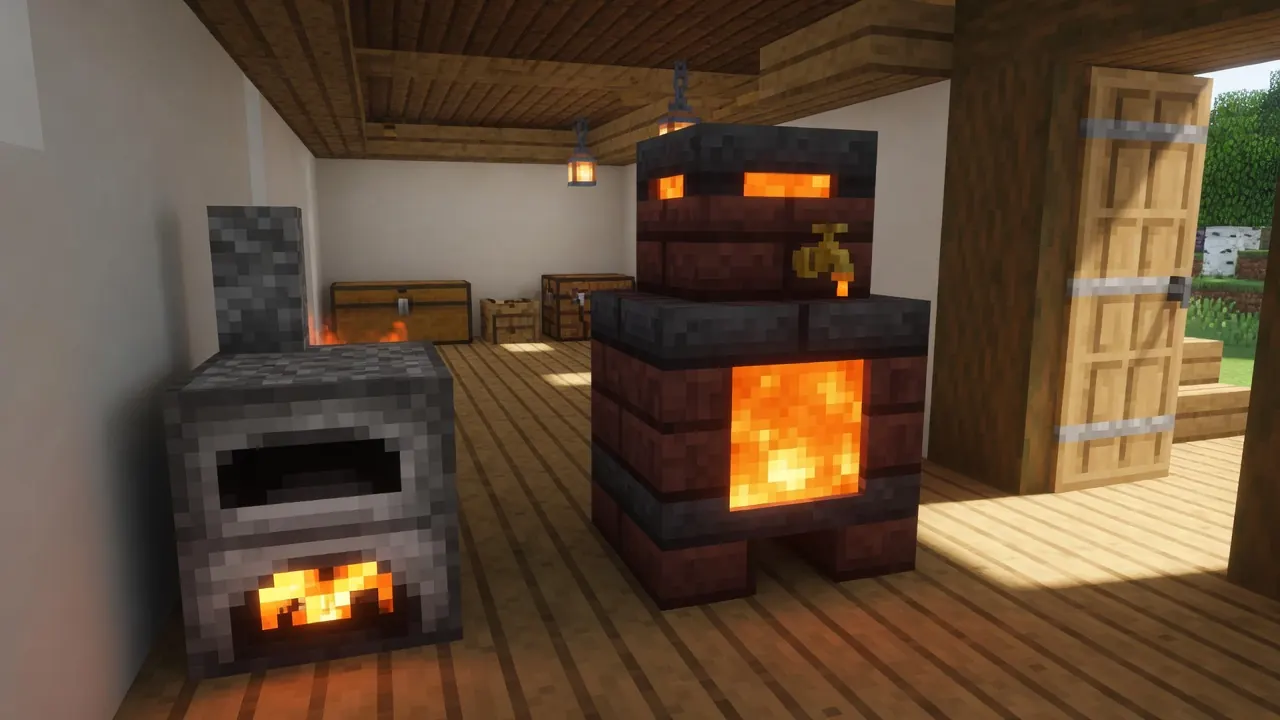
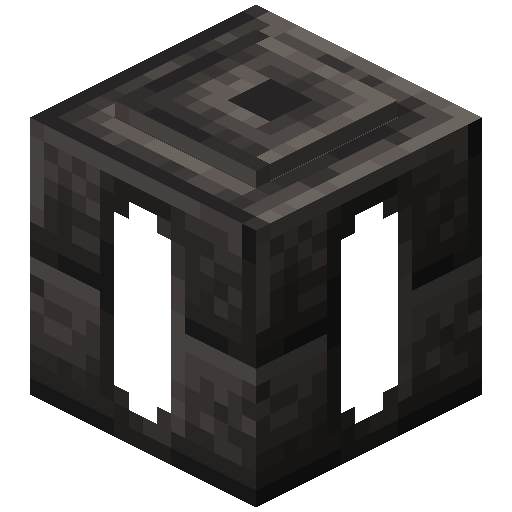
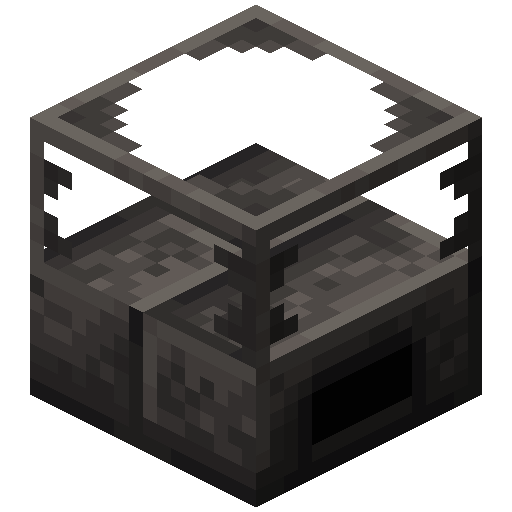
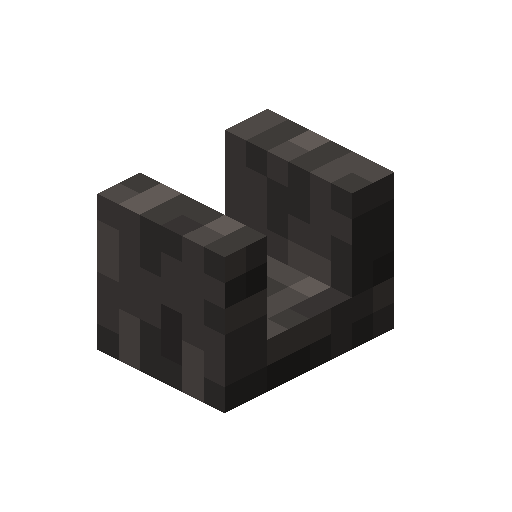
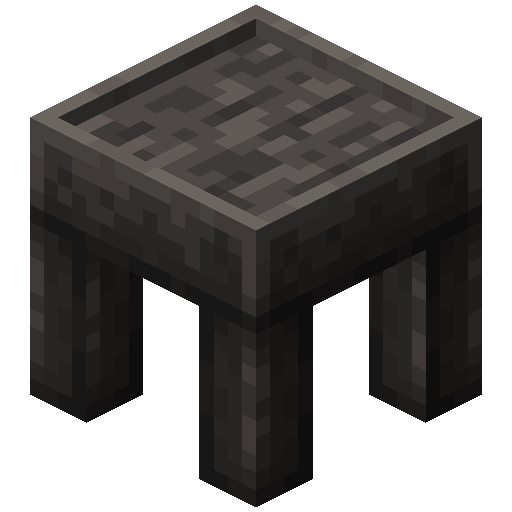
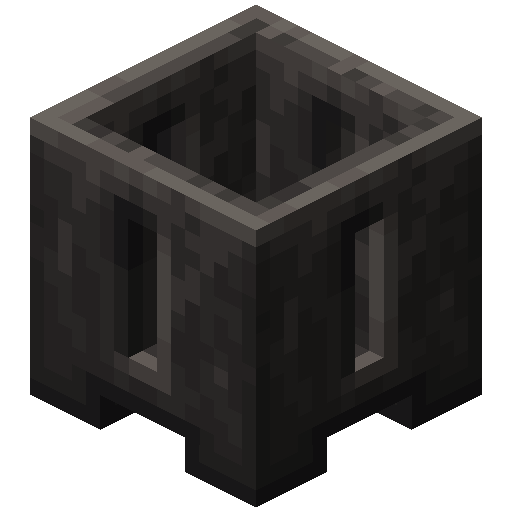
Walk the tabs left to right: Melter (bricks + the gauge you just made), Heater (8 bricks around a hole. This burns coal), Casting Table (7 bricks like a small table), Basin (7 bricks like a tub), Faucet (the V of 3 bricks, crafts 3). The photo above is the stack you actually place in the world: gray vanilla furnace for scale, dark seared heater with the orange window, tank/melter on top, gold faucet facing empty air where the table will go. If you only build one Tinkers machine this week, build that stack.
How to Build a 3x3 Smeltery Blueprint & Ore Processing
High-Capacity Multiblock Smeltery & Molten Basin Architecture
Do not rush the 3×3 on day one. The Melter plus Heater already turns ore into casts. Build the full Smeltery when you are tired of single-stack melts and you want alloys in the same tank. One official fact most clone guides get wrong: the Smeltery Controller is not an eight-brick crafting recipe. In Tinkers 3 you melt four ingots of copper, pour them onto a Seared Heater sitting in a Casting Basin, and the heater becomes the controller. The 8-brick picture in older writeups is TiC 2 muscle memory.
Craft the bricks, tanks, and drains as usual. Copper belongs in the drain recipe. Glass belongs in the fuel tank and fuel gauge, not in the Melter itself. The Melter wants a finished gauge in the top-middle slot.

Lay down a solid 3x3 square (9 blocks) of Seared Bricks or Seared Stone on the ground to form the bottom molten basin.
Surround the floor with a hollow 5x5 perimeter wall. Include 1 Smeltery Controller, 1 Seared Fuel Tank (filled with Lava), and 1+ Seared Drain blocks.
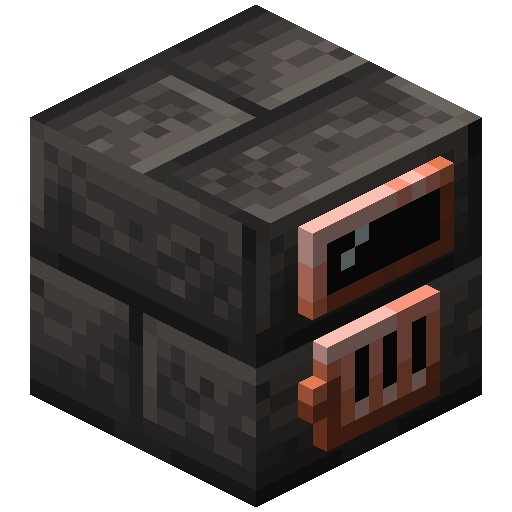
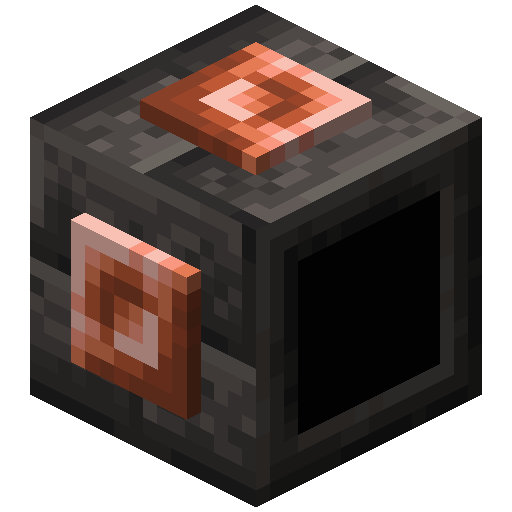
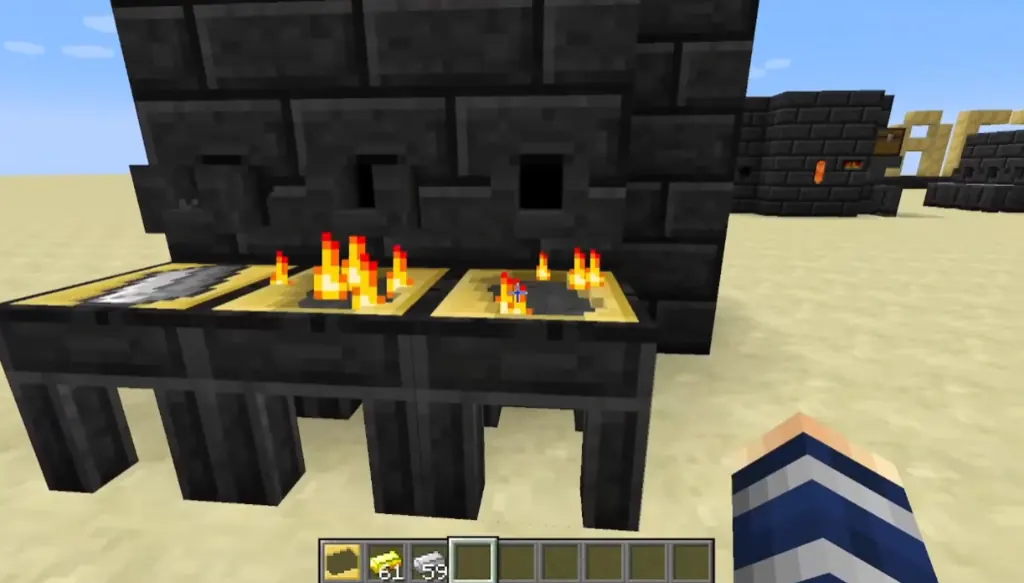
Attach a Seared Faucet to the outside of each Seared Drain. Place a Casting Table or Casting Basin directly underneath.
Complete Alloy Metallurgy Ratios & Liquid Formulas
Manyullyn, Slimesteel, Pig Iron, Rose Gold & Queen's Slime
Alloys are why the 3×3 exists. The Melter can pour a copper ingot. It cannot comfortably hold three fluids at once and cook them on purpose. Once the tank is tall enough, metals that share the basin combine when the temperature is high enough. That is convenient and dangerous: dump the wrong leftovers in and you invent an alloy you did not want.
Treat the list below as jobs, not a completionist checklist. Manyullyn is the boss sword. Hepatizon is the quarry head. Rose Gold is a slot tax. You put it on a plate because you want another upgrade, not because it mines well. Slimesteel is the repair-in-the-field handle. Queen's Slime is a durability sponge. Pig Iron is a joke that sometimes saves a trip home. If you only make two alloys this world, make Manyullyn and Rose Gold.
Manyullyn


The combat alloy. Cobalt plus ancient debris, hot fuel. Put it on a blade, not a pick. Insatiable only matters if you keep hitting the same boss.
- Cobalt Ingot3 Ingots (270 mB)
- Ancient Debris / Netherite1 Scrap (90 mB)
Queen's Slime

Durability sponge. Cobalt, gold, magma cream. Use it when the tool must outlive a long trip, not when you need raw damage.
- Cobalt Ingot1 Ingot (90 mB)
- Gold Ingot1 Ingot (90 mB)
- Magma Cream1 Item (250 mB)
Hepatizon

The quarry head. Copper, cobalt, quartz. Make this for hammers and excavators. Do not waste it on a sword.
- Copper Ingot2 Ingots (180 mB)
- Cobalt Ingot1 Ingot (90 mB)
- Molten Quartz1 Gem (90 mB)
Rose Gold
You do not mine with this. You pay copper and gold for an extra upgrade slot. One Rose Gold plate is enough on most builds.
- Copper Ingot1 Ingot (90 mB)
- Gold Ingot1 Ingot (90 mB)
Slimesteel
The field-repair handle. Iron plus slime plus seared brick. Overgrowth only works if you actually stand in slime. Bring a slime block.
- Iron Ingot1 Ingot (90 mB)
- Slime Ball1 Ball (250 mB)
- Seared Brick1 Brick (90 mB)
Pig Iron

Utility alloy made from iron, blood, and honey. Tools made with Pig Iron can be eaten directly from the hand to restore food bars in an emergency.
- Iron Ingot1 Ingot (90 mB)
- Liquid Blood2 Sacrifices (500 mB)
- Honey Bottle1 Bottle (250 mB)
Bronze

Reliable early-to-midgame alloy. Bridges the gap between iron and diamond harvest levels with solid durability and the Dense trait.
- Copper Ingot3 Ingots (270 mB)
- Tin Ingot1 Ingot (90 mB)
The Nether Foundry & Scorched Blocks
High-Capacity Smelting Without Accidental Alloy Reactions
The Foundry is the smeltery's introverted cousin. Scorched blocks, Nether grout (magma cream + soul sand + gravel), same faucet-and-basin grammar. It is built to melt ore for byproducts and keep fluids from marrying each other. If your Overworld tank keeps turning leftover gold and copper into Rose Gold you did not ask for, that is the Foundry's job interview.
You do not need a Foundry to finish the mod. You need it when cobalt volume or byproduct greed outgrows the 3×3, or when you are tired of draining the tank between recipes. Build it in the Nether so the scorched theme matches the heat, then pipe or hopper the ingots home. Until then, one well-fed Overworld smeltery is enough.


 2
2Recommended High-Performance Tool & Weapon Builds
Optimized Part Combinations for Boss Combat, 3x3 Quarrying & Ranged Precision
A Tinkers "tier list" is a lie if it ranks whole tools. Rank the head, then spend the other parts on the job. Head sets harvest level and most of the damage. Handle is attack speed and a durability multiplier. Binding or plate is the extra trait and, if you used Rose Gold, the extra slot. The three builds below are starting recipes, not religion. Swap the plate the moment you need Unbreakable more than Sharpness.
1. The Heavy Cleaver (Boss Combat Specialization)
Why it works: Manyullyn is the head you pour when the Wither is on the calendar. Insatiable pays you for staying in the fight, which is the opposite of a hit-and-run sword. Cobalt on the handle is attack speed, not fashion. Rose Gold on a plate is an admission that you will spend quartz. Do not put Manyullyn on a pickaxe head and call it a combat build.
2. The Sledge Hammer (3x3 Quarry Mining Build)
Why it works: A hammer is a 3×3 hole machine. Cobalt or Hepatizon on the head is the only part that must be expensive. Momentum (or Hepatizon's mining personality) only exists if you do not stop swinging. Bronze plates waste fewer repairs; Slimesteel repairs itself if you stand in slime. Redstone is Haste. Expanded is the extra reach. Fortune goes on a silk-touch backup pick, not on the hammer you use to delete stone.
3. The Precision Longbow (High-Velocity Ranged Build)
Why it works: Bows in Tinkers are two limbs arguing. Cobalt limb for draw speed, Manyullyn limb for damage, slime string so the whole thing feels like a slingshot. This is the Ghast tool. It is not your main weapon unless the pack starves you of melee parts. Make it after the Cleaver, not instead of it.
Complete Material Traits & Stats Reference Table
Harvest Levels, Mining Speeds, Durability & Trait Index
Numbers below are head-ish reference values for Tinkers 1.20.1, not a promise your finished tool will match the row. Bindings and handles multiply durability and rewrite attack speed. Filter by Overworld if you have not poured cobalt yet. Filter by Alloy when the tank is finally tall enough to waste metal on purpose.
| Material | Mining Level | Durability | Attack | Trait & Effect |
|---|---|---|---|---|
| Wood | 0 - Wood | 60 | 1 dmg | CultivatedPassively restores durability over time and offers lightweight part handling. |
| Flint | 1 - Stone | 110 | 2 dmg | JaggedAttack damage slightly scales up as the tool loses durability. |
| Stone | 1 - Stone | 130 | 1.5 dmg | CheapskateHas reduced maximum durability but is exceptionally inexpensive to repair with basic cobblestone. |
| Bone | 1 - Stone | 180 | 2.5 dmg | FracturingConsecutive attacks on the same target inflict bonus piercing damage. |
| Copper | 2 - Iron | 240 | 2 dmg | ConductiveIncreases the experience points gained from mining ores and defeating mobs. |
| Iron | 2 - Iron | 350 | 3 dmg | MagneticAttracts nearby dropped items toward the player within a 4-block radius. |
| Bronze | 3 - Diamond | 550 | 3.5 dmg | DenseProvides a percentage chance on each hit to consume zero durability. |
| Slimesteel | 3 - Diamond | 750 | 3.8 dmg | OvergrowthPassively restores durability when the player is submerged in slime fluids or standing on slime blocks. |
| Rose Gold | 2 - Iron | 220 | 2.5 dmg | EnhancedGrants +1 additional Upgrade Slot to the tool for each Rose Gold component used. |
| Pig Iron | 3 - Diamond | 580 | 3.5 dmg | TastyCan be consumed directly from the hotbar to restore hunger and saturation in an emergency. |
| Cobalt | 4 - Netherite | 1050 | 4.5 dmg | MomentumContinuous mining accelerates block breaking speed, ramping up with sustained use. |
| Manyullyn | 4 - Netherite | 1550 | 6.5 dmg | InsatiableStriking hostile mobs grants a temporary stacking attack bonus per consecutive hit. |
| Hepatizon | 4 - Netherite | 1200 | 5 dmg | MomentumHigh-tier momentum trait combining sustained mining acceleration with sturdy durability. |
| Queen's Slime | 4 - Netherite | 1800 | 4 dmg | OverlordOffers massive durability capacity along with reduced knockback taken in combat. |
Modifiers, Upgrades & Unbreakable Gear
Diamonds, Emeralds, Quartz, Redstone & Reinforcements
Modifiers are the enchanting table you actually control. Quartz is Sharpness. Redstone is Efficiency. Diamond is a durability brick. Emerald is another durability brick that also talks to villagers in some versions. Reinforced is the road to Unbreakable. Five ranks, then Netherite, then the ability. Do not spend netherite on a tool you still intend to replace next week.
Slot count is why Rose Gold exists. If a build feels starved, add a Rose Gold plate before you start deleting modifiers at the worktable. Silk and Fortune still hate each other. Keep two picks.
+0.5 Attack Damage per level (up to Level V)
+2.0 Mining Speed per level (up to Level V)
Applies Fortune on mining tools or Looting on weapons
Grants a chance per level to avoid consuming durability (25/45/60/70/75% at levels 1–5)
Mines fragile blocks (Ice, Glass, Spawners, Ore Blocks) intact
Expands mining area to 3x3 blocks on pickaxes and shovels
Automatically smelts mined drops or sets hit targets on fire
Makes the tool permanently immune to durability loss
+500 Durability, +1 Harvest Level Tier, and base stat bonuses
Slime Islands, Slime Sling & 200-Block Kinetic Bouncing
Slime Boots Kinetic Travel & Blue Slime Synthesis
Slime Islands are why Slimesteel is not just a wiki recipe. Sky islands (and their Nether cousins) drop the colored slime you cannot farm from a swamp overnight. You need that slime for Slimesteel, for overslime repairs, and for the boots-and-sling joke that is also a real travel kit.
Find one island, take saplings, plant a slime tree farm at home, and stop exploring the sky. The sling combo is optional. The slime is not, if you want Overgrowth to mean something.

Equip Slime Boots (negates all fall damage and causes you to bounce) and hold a Slime Sling. Aim down at the ground behind you and release the sling to launch yourself hundreds of blocks into the sky at terminal velocity. You will bounce continuously across the landscape without ever taking a point of fall damage!
Armor: Traveler's, Plate, and Slime
Three sets, three jobs. Do not craft all three.
Tinkers armor is the chapter most tool guides treat as a footnote, then players wander into a wiki looking for "plate vs traveler." There are three families. Traveler's is light, cheap, and built for moving. Think boots and a vest you forget you are wearing. Plate is the heavy set you pour when the material is already good (cobalt, manyullyn, hepatizon) and you want the protection number to look like a late-game chestplate. Slime armor is a mobility kit that pairs with the sling, not a raid set.
Craft Traveler pieces first if you still die to fall damage and wandering raids. Craft one Plate chest when you have leftover alloy after the Cleaver and the Hammer. Never before. Slime boots are the only slime piece that earns a permanent hotbar slot; the rest of the slime set is a toy until you are bored of elytra. Repair works the same as tools: Broken, not deleted, one material on the station.
Modifiers on armor are different verbs. Protection-style upgrades, knockback, and turtle-shell habits live here. Do not copy your sword quartz recipe onto a helmet and expect it to make sense. If a pack also has Mekanism Tools, pick one endgame chestplate. Tinkers Plate Manyullyn and Mekanism Refined Obsidian are both "I am done" answers. Wearing both is inventory roleplay.
Tips that save a tank of metal
The habits that keep alloys intentional
- Drain the tank between recipes. Leftover gold plus copper is Rose Gold whether you wanted it or not. The Foundry exists because people ignore this tip.
- Cast the controller. Do not google an eight-brick recipe. Four ingots of copper onto a heater in a basin. If a page shows 8 seared bricks in a ring, it is writing TiC 2.
- One gold cast, then never again. Sand casts are disposable. Gold casts are the stencil you keep. Pour gold over a wooden or stone part once.
- Repair kits in the pocket, not Mending on every tool. A broken Tinkers tool is a walk home, not a funeral.
- Two picks. Fortune and Silk Touch still refuse to share. The hammer is for stone. The pick is for ore.
- Melter first week, 3×3 second week. If your clay vein is thin, stay on the two-block stack until you can floor a 3×3 without stripping a riverbank.
- Manyullyn is a blade. Hepatizon is a hole. Rose Gold is a slot. Repeat that when the tank is full and you feel like experimenting.
Frequently Asked Questions
If the controller is dark, the floor is not 3x3 seared or a tank is empty. If the tool says Broken, put it back on the station with one head-material ingot.
Related mods

Official Downloads
SlimeKnightsOfficial Tinkers' Construct from SlimeKnights on GitHub Releases.