Particle commands combine a particle ID with position, spread, speed, count and sometimes particle-specific data. Changing several values at once makes failures difficult to diagnose.
Start with a single visible particle at fixed coordinates, verify any required parameters, and only then add movement, density or repeated execution.
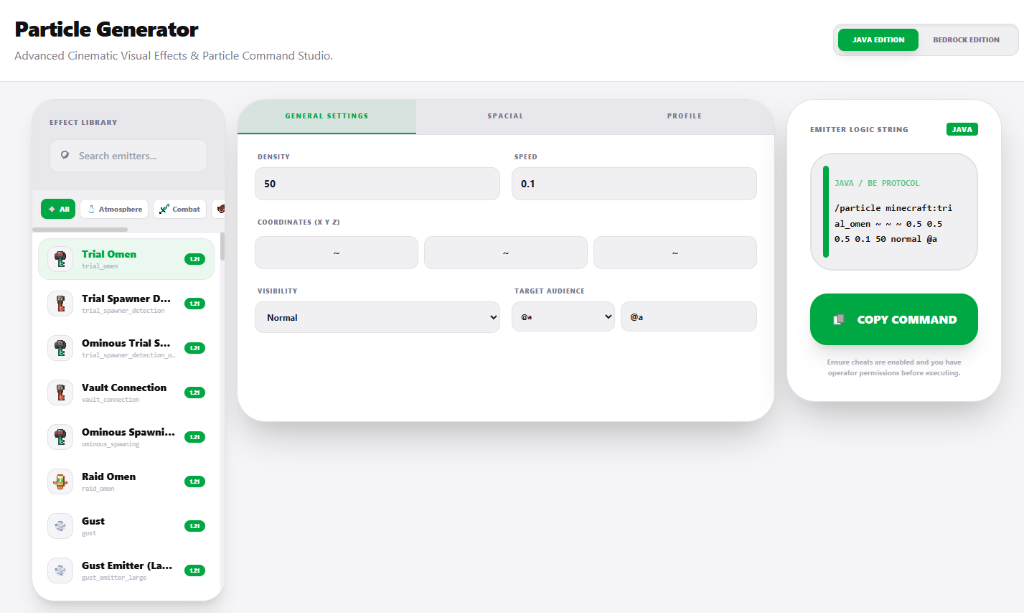
Tune particle effects in a safe order
- Spawn one particle at a fixed coordinate.
- Confirm the particle ID and any required extra parameters.
- Add offsets and speed with a low count.
- Move the command into a function or repeating block only after the single command is correct.
Count describes how many particles a command requests, while offsets and speed affect how they spread. Client particle settings and viewing distance can change the result. For persistent effects, reduce command frequency before increasing count; a dense effect emitted less often is usually easier on clients than a large burst every tick.
Map integration checklist
Attach repeated particles to a tagged entity or a known anchor instead of a broad selector. Stop the emitter when players leave the scene, and test with reduced client particle settings. A gameplay cue should remain understandable even when a player cannot see every decorative particle.